Creating a Plan Class
To create a new Plan Class:
- Sign in to the Operator Control Panel.
- On the Navigation Bar, click Operation > Products > Plan Classes. The Workspace displays the List of Plan Classes (see Viewing the List of Plan Classes).
- Click the Create button on the Toolbar.
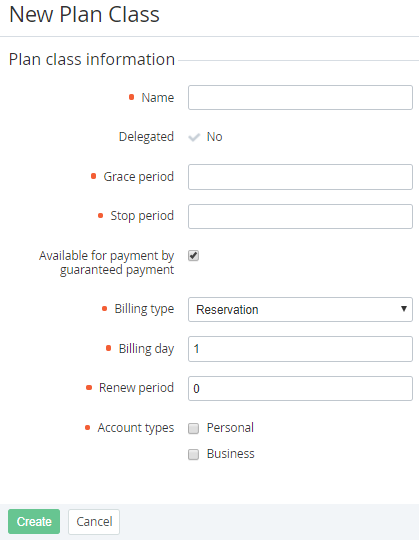
- On the New Plan Class page in the Name field, type a name of the Plan Class.
- In the Grace period field, type a number of days after ending of the subscription period when the Subscription will work without payment.
- In the Stop period field, type a number of days after the Grace period. During this period the subscription will be stopped, but will not be deleted. The Subscription is deleted if this period ends.
- Select the
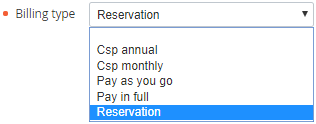
In the Billing day field, type a date of the month when Invoices (see Managing Invoices) will be created and Charges (see Charges) change their statuses. This field can be set from 1 to 31 that specifies the day of the month. If the month does not include the specified number, the Invoice will be created on the last day of that month.
If the -1 value is set, subscription renewing is available all subscription period. If the 0 value is set, subscription renewing is not available.
- Account Class (see Account Classes)) order the Plans that are based on this Plan Class.
- Click Create. The Plan Class will be successfully created.