Configuring logos
The Operator Control Panel and Customer Control Panel use several logos of a Reseller and the page favicon. It is also possible to use the Reseller's stamp for an Invoice print form.
To change the default logos in the Operator Control Panel and Customer Control Panel:
- Sign in to the Operator Control Panel.
- On the Navigation Bar, go to Logotypes (see Navigation). The Logotypes page is displayed.
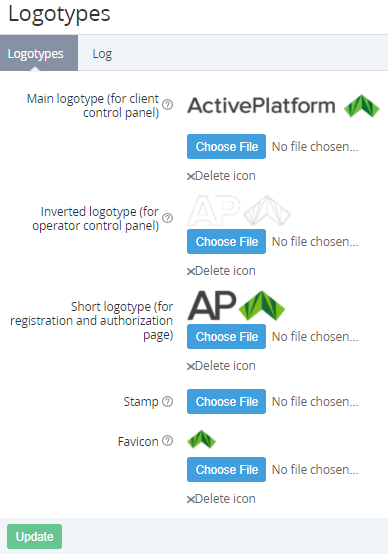
- Click the Choose File button to upload the Reseller's logos:
- Main logotype (for client control panel) — the logo of the Navigation Bar of the Customer Panel (see Screen layout in the Customer Control Panel guide).
- Inverted logotype (for operator control panel) — the logo of the Navigation Bar of the Reseller Control Panel (see Reseller Control Panel Screen Layout).
- Short logotype (for registration and authorization page) — the logo of the Sign in, Sign up, Reset Password pages in the Customer Control Panel (see Log in to the Customer Control Panel in the Customer Control Panel guide).
- Stamp — the Reseller's stamp used for an Invoice print form.
- Favicon — the Reseller's favicon displayed in a web browser tab on the Customer Panel and Reseller Panel pages.
Requirements to the uploaded files
- Recommended:
- Format: .PNG, transparent background.
- The main and inverted logos and stamp size: 150×30 px.
- The favicon size: 32×32 px.
- Click the Update button to save the changes.
- To insert the Reseller's logos to UI Templates, use the dedicated Placeholders (see Placeholders for UI Templates).
- To restore a default logo, click Delete icon. The uploaded logo is deleted, and the default logo is applied.