Creating an «Open-Xchange» user
Complete the following steps to create an «Open-Xchange» user:
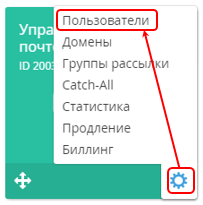
- Move the mouse pointer over the Mailboxes shortcut. The
 button appears in the lower-right corner of the shortcut.
 - Click the button. The Application menu appears.
- Click the Users in the Application menu.
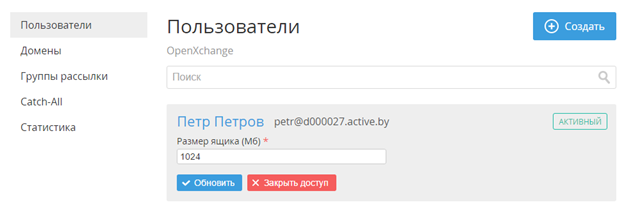
- The list of users with the access to the «Open-Xchange» service appears.
If there are no users with access to the service, the "You don't have any user attached yet" label is displayed.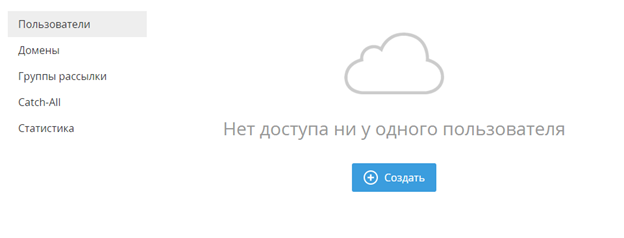
- Click the Create button. The New User creation form appears.

- Fill the following fields on the New User creation form:Name — user's first name (required field);
- Last name — user's last name (required field);
- Middle name - user's middle name;
- Email — user's email (required field);
- Password — the password to access the email and the Customer Control Panel (required field).
To view the typed password select the Show Password checkbox; - Access level — access level of the Customer Control Panel users:
- User - a user with a minimum set of privileges, with access only to the services that have been permitted by Admin or Owner;
- Admin - a user with an Account administrator privileges. Admin can create the Account users and manage their privileges;
- Owner- a user with a maximum set of privileges. An Account has only a single Owner.
- Email size (Mb) - the maximum storage size of the user's mailbox.
- Click the Create button. A new user is created and will be included in the List of Users.