Creating a Product
To create a Product in ActivePlatform:
- Sign in to the Operator Control Panel.
- Click Operations > Products > Products on the Navigation Bar. The workspace displays the Products page (see Viewing the List of Products).
- Click the Create button on the Top bar of the Product page. The New Product wizard opens.
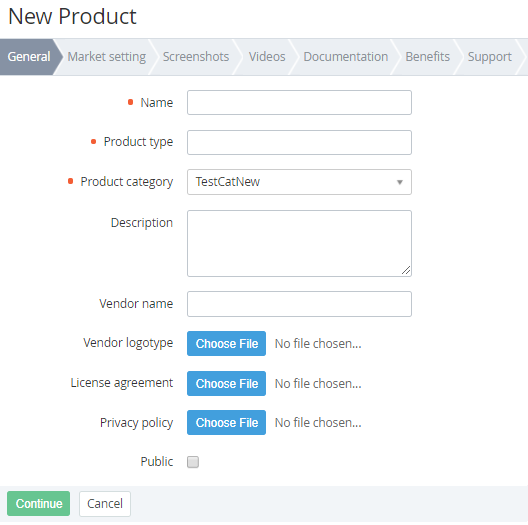
- On the General tab, enter the following:
- In the Name field, enter the Product name.
- In the Product type field, enter the Product type.
In the Product category drop-down list, select a Product category (see Managing Product categories).
- In the Description field, enter the Product description. This description won't be displayed to the user.
- In the Vendor name field, enter the name of Product Vendor company.
- In Vendor logotype, click the Choose File button, and upload the Vendor company logo.
- In License agreement, click the Choose File button, and upload the Product License agreement file.
- In Privacy policy, click the Choose File button, and upload the Product Privacy policy file.
- To make a Product available for sale, select the Published checkbox.
- Click the Continue button. The next tab of the wizard — Market setting - opens.
- On the Market setting tab, enter the following:
- In the Name field, enter the Product name that will be displayed to a user.
- In Logotype, click the Choose File button, and upload the Product logo.
- In the Description field, enter the Product description. This description will be displayed to the user.
- Click the Continue button. The next tab of the wizard — Screenshots - opens.

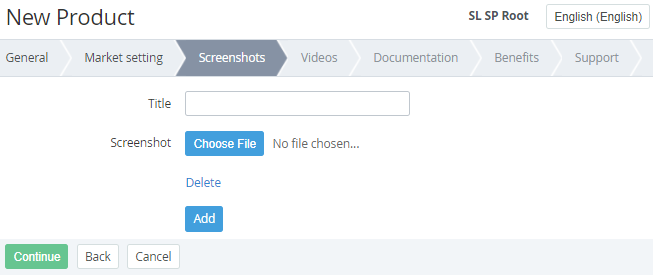
- On the Screenshots tab, enter the following:
- In the Title field, enter the Product screenshot title.
- In Screenshot, click the Choose File button, and upload the Product screenshot.
- To delete the uploaded screenshot, click Delete.
- To add another screenshot, click the Add button. The form for adding a screenshot appears, which is similar to the one described above.
- Add the required amount of the screenshots.
- Click the Continue button. The next tab of the wizard — Videos - opens.
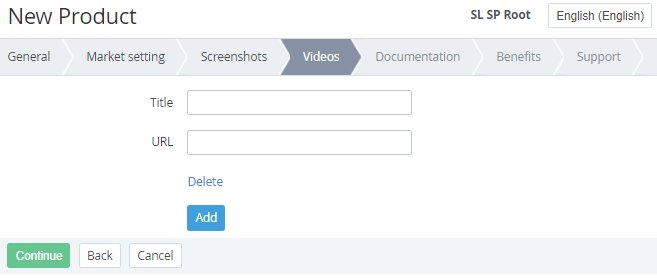
- On the Videos tab, enter the following:
- In the Title field, enter the Product video title.
- In the URL field, enter the link to Product video.
- To delete the video, click Delete.
- To add another video, click the Add button. The form for adding a video appears, which is similar to the one described above.
- Add the required amount of Product videos.
- Click the Continue button. The next tab of the wizard — Documentation - opens.
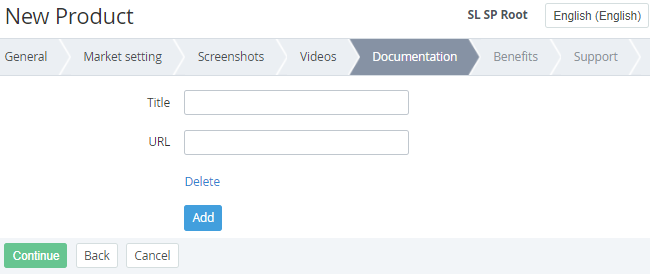
- On the Documentation tab, enter the following:
- In the Title field, enter the Product documentation title.
- In the URL field, enter the link to Product documentation.
- To delete the documentation link, click Delete.
- To add another documentation link, click the Add button. The form for adding a documentation link appears, which is similar to the one described above.
- Add the required amount of Product documentation links.
- Click the Continue button. The next tab of the wizard — Benefits - opens.
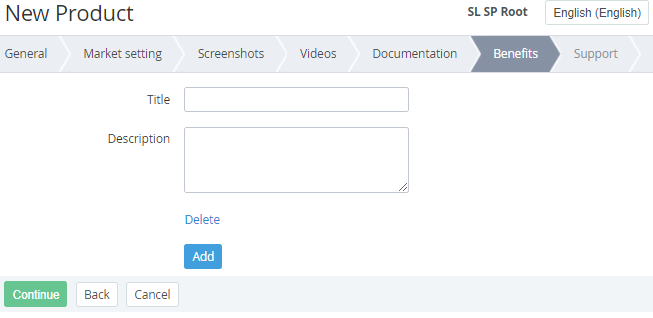
- On the Benefits tab, enter the following:
- In the Title field, enter the Product benefit title.
- In the Description field, enter the Product benefit description.
- To delete the Product benefit, click Delete.
- To add another Product benefit, click the Add button. The form for adding a benefit appears, which is similar to the one described above.
- Add the required amount of Product benefits.
- Click the Continue button. The next tab of the wizard — Support - opens.
- On the Support tab, enter the following:
- In the URL field, enter the link to the Product support website.
- In the Email field, enter the email of Product support.
- In the Phone field, enter the phone number of Product support.
- In the Details field, enter the additional details about Product support.
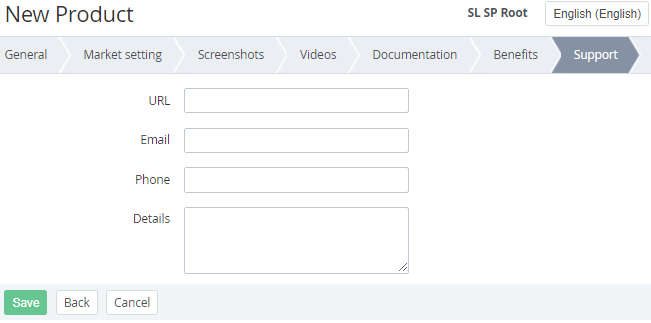
- Click the Save button. New Product is saved and appears in the List of products.