Creating a Product
To create a Product in ActivePlatform:
- Sign in to the Operator Control Panel.
- On the Navigation Bar, go to Products (see Navigation). The list of Products is displayed (see Viewing the List of Products).
- Click the Create button on the Top bar of the Product page. The New Product wizard opens.
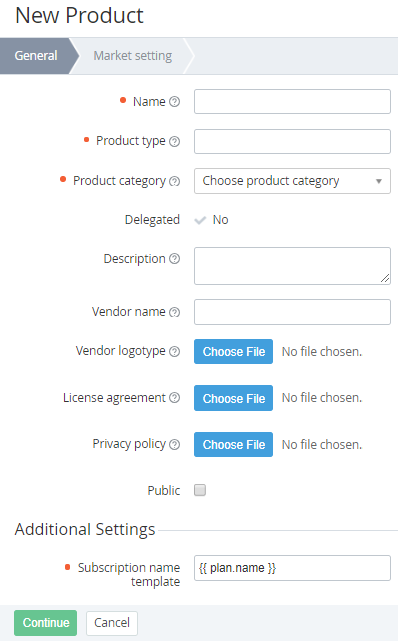
- On the General tab, enter the following:
- In the Name field, enter the Product name.
- In the Product type field, enter the Product type.
In the Product category list, select a Product category (see Managing Product categories).
- In the Description field, enter the Product description. This description is not displayed to the user.
- In the Vendor name field, enter the name of Product Vendor company.
- In Vendor logotype, click the Choose File button, and upload the Vendor company logo.
- In License agreement, click the Choose File button, and upload the Product License agreement file.
- In Privacy policy, click the Choose File button, and upload the Product Privacy policy file.
- To make the Product available for sale, select the Published checkbox.
Template of subscription name - a template that is used to create the names of Subscription to all Plans of the Product. The default value is
plan.name, and all Subscription names, excluding Subscription for Domains and Certificates, equal the names of corresponding Plans (see Default names of Subscriptions and Entry Points and Entry points configuration).- Click Continue. The next tab of the wizard — Marketing - opens.
- On the Market setting tab, enter the following:
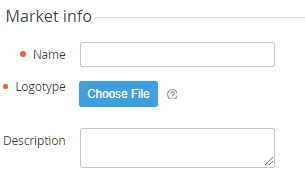
- In the Market info:
- In the Name field, enter the Product name that will be displayed to a user;
- In Logotype, click Choose File, and upload the Product logo;
- In the Description field, enter the Product description. This description will be displayed to the user.
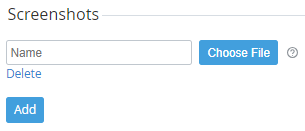
- In the Screenshots:
- In the Name field, enter the Product screenshot title;
- Click Choose File, and upload a Product screenshot;
- Click Add to add the screenshot;
- To delete the uploaded screenshot, click Delete. Click Change image to replace the uploaded screenshot;
- To add another screenshot, click Add. The form for adding a screenshot appears, which is similar to the described above;
- Add the required number of the screenshots.
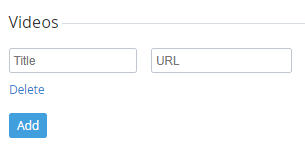
- In the Videos:
- In the Title field, enter the Product video title;
- In the URL field, enter the link to Product video;
- Click Add to add the video;
- To delete the video, click Delete;
- Add the required number of Product videos.
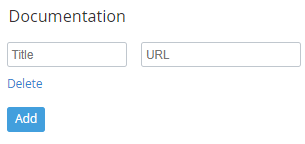
- In the Documentation:
- In the Title field, enter the Product documentation title;
- In the URL field, enter the link to Product documentation;
- Click Add to add the documentation link;
- To delete the documentation link, click Delete;
- Add the required number of Product documentation links.
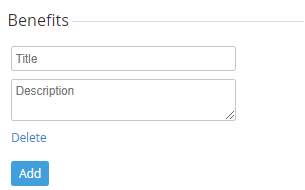
- In the Benefits:
- In the Title field, enter the Product benefit title;
- In the Description field, enter the Product benefit description;
- Click Add to add a benefit;
- To delete the Product benefit, click Delete;
- Add the required number of Product benefits.
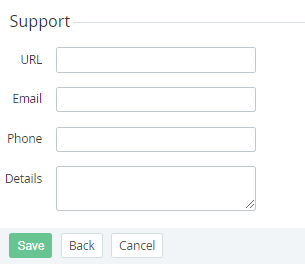
- In the Support:
- In the URL field, enter the link to the Product support website;
- In the Email field, enter the email of Product support;
- In the Phone field, enter the phone number of Product support;
- In the Details field, enter the additional details about Product support.
- In the Market info:
- Click Save. New Product is saved and appears in the List of products. You will be redirected to the Plans tab (see Viewing a list of Product Plans).