Creating a DNS record
You can create and edit DNS records only for the Domains, for which the DNS management option was enabled (see Viewing Domain information).
To add a DNS record:
- Sign in to the Customer Control Panel.
- On Applications page, click the Domains entry point. The Domains page will be displayed on the screen (see Viewing the List of Domains).
Click Name of the required domain. The domain's domains page will be displayed on the screen (see Viewing Domain information).
- Check that the DNS management switcher is On.
Click the Create DNS Record button.
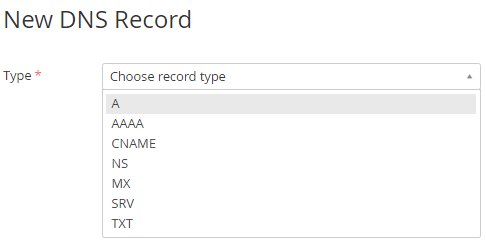
On the New DNS Record page, in the Type list, select the type of DNS record. It indicates the format and purpose of the data. Depending on the type selected in the Type list, the New DNS Record page displays a different set of the fields for entering the DNS-record settings. For example, select the A record (address record) that is used to translate from a domain name to an IPv4 address.
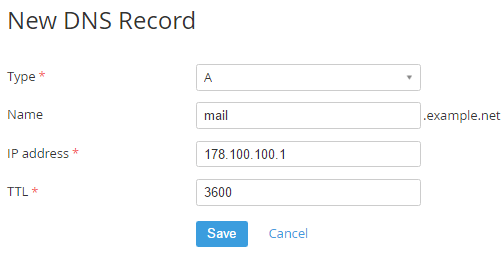
For the type A, fill the following fields:
- Name — a subdomain name (e.g. mail for mail.activeplatform.by). Leave it blank if you create DNS record for the domain;
- IP address — an IP-address of the end-server;
- TTL — a count of seconds that the DNS record stays valid (recommended value — 3600).
Click Save. Added DNS record will be displayed on the screen.
Added DNS record will be synchronized with provider's server for 10 minutes, but updating the information on the Internet can take up to 24 hours.


