Uploading Reseller's logos
Follow next steps to upload and to use Reseller's logos in the Operator Control Panel and Customer Control Panel:
- Sign in to the Operator Control Panel using credentials (login and password) of the Manager created earlier for this Reseller (see Creating Reseller's manager).
- On the Navigation Bar, click Settings > Configuration > System Settings. The Workspace displays the System Settings page (see System Settings).
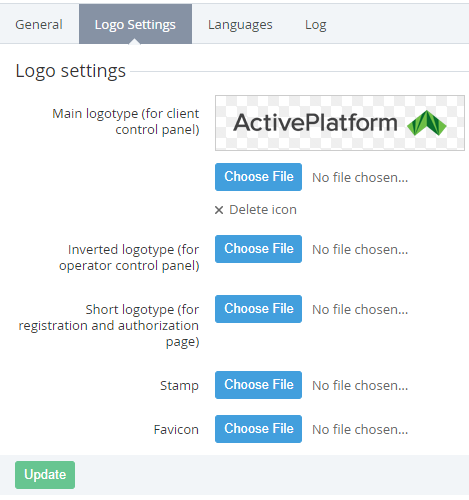
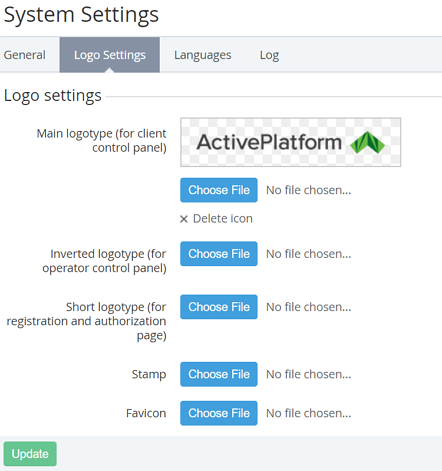
- Click Logo Settings tab on the Toolbar.
- Click the Choose File button to upload the Reseller logos. Following options are available:
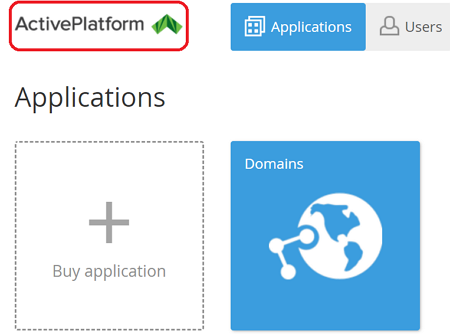
- Main logotype (for client control panel) - the logo of the upper part of the Customer Panel (see Customer Control Panel Screen Layout);
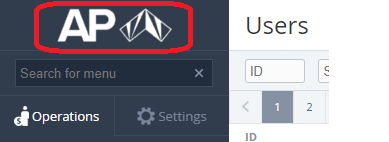
- Inverted logotype (for registration and authorisation panel) - the logo of the upper part of the Reseller Control Panel (see Reseller Control Panel Screen Layout);
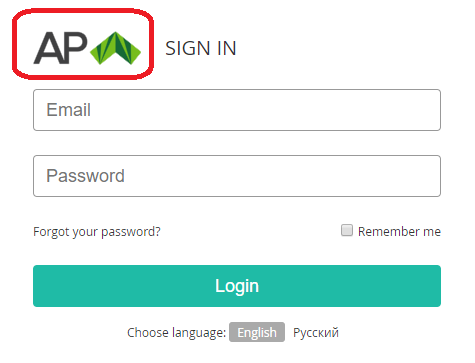
- Short logotype (for registration and authorization page) - the logo of the Sign in, Sign up, Reset Password pages in the Customer Panel (see Authentication);
- Stamp - Reseller stamp used for the creating a printed copy of List of Invoices;
- Favicon — Reseller favicon that is displayed on a web browser tab on the Customer Panel and Reseller Panel web pages.
- Main logotype (for client control panel) - the logo of the upper part of the Customer Panel (see Customer Control Panel Screen Layout);
- The name of the uploaded file is displayed next to the Choose File button.
Click the Update button. Chosen logos are uploaded and displayed on the Logo Settings tab.
Click Delete icon to restore the default logo. The uploaded logo will be deleted and default logo will be displayed.


