Entry points configuration
To configure Entry points that are displayed on the Customer Control Panel if the Subscription was ordered:
- Sign in to the Operator Control Panel.
- Click Operations > Products > Application Template on the Navigation Bar.
- Click ID or Name of the Application Template.
- Go to the Entry Points tab (see Viewing the List of Entry points of the Application template).
Click ID or Name of the Entry Point.
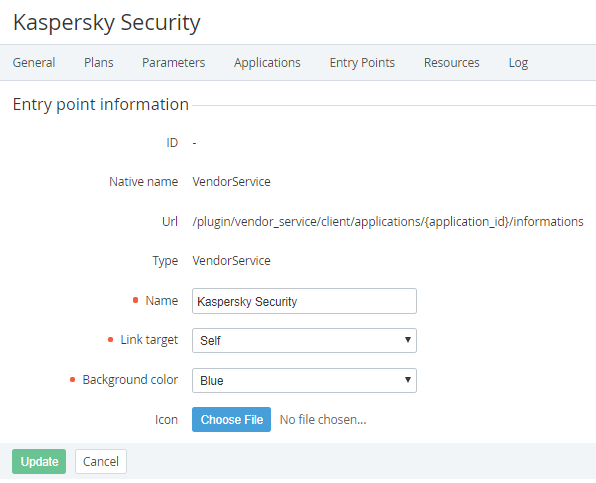
The Entry Point page includes the following parameters:- ID - a unique identification number of the entry point.
- Native name - the initial name of the entry point.
- URL - the URL used to authorize the User into the Service.
- Type - authorization type of the User to the Service.
- Name - the name of the service that is displayed on the service label in the Customer Control Panel.
- Link target - one the browser's way of behaviour when users click on the entry point:
- Blank - upload the page in a new browser window;
- Self - load the page in the current window;
- Parent - load the page in the parent frame;
- Top - cancel all frames and loads the page in a full browser window.
- Background color - the color of the entry point in the Customer Control Panel.
- Icon - a background image for the entry point.
- Click Save.