Creating an Internal User's alias
To create the Internal User alias:
- Sign in to Customer Control Panel.
- Click Users on the Navigation Bar. The Workspace displays the Users list (see Viewing the List of Users).
- Click the name of the required user. The Workspace displays the information about the selected Internal user (see Viewing and updating Internal User information).
- Click Aliases in the menu on the left. The Aliases page is displayed.
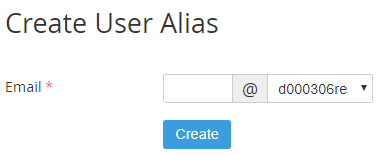
- Click the Create Alias button. The Create User Alias form appears.
- In the Email field, enter the user's alias.
- In the drop-down list, select one of the domains that are attached to the Application (see Attaching a Domain to the Application).
- Click the Create button. The new alias appears in the Aliases list.


