Creating an Account
Before an Account creation, Account Classes (see Creating an Account Class) and Account Types (see Creating an Account Type) must be added.
Each created Account must be attached to at least one User. This User will have the Owner access level in the Customer Control Panel. The Owner can be automatically created when you are creating an Account or the Owner can be created in advance (see. Creating a User).
The Owner has full financial and administrative control the Account. The Account can have only one User with the Owner access level.
Complete the following steps to create an Account:
- Sign in to Operator Control Panel.
- On the Navigation Bar, click Operations > Operations > Accounts on the Operation tab.
- On the Accounts page, click the Create Account button on the Toolbar.
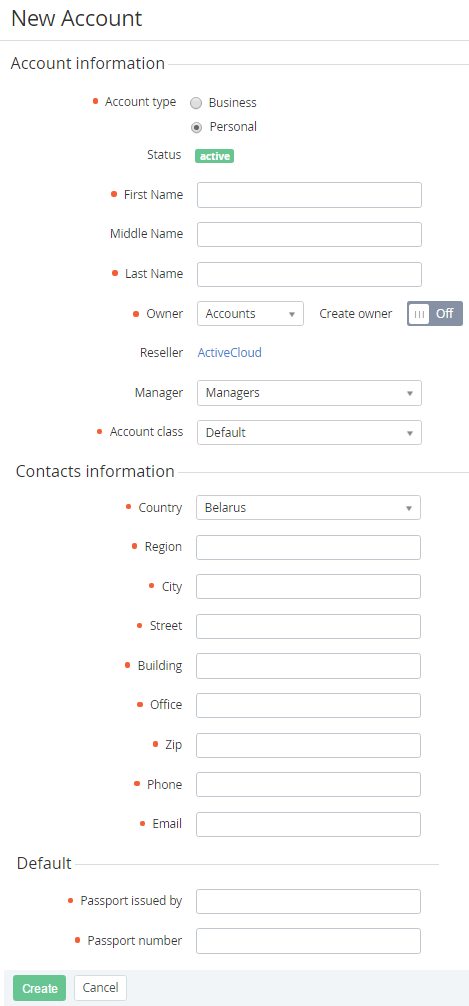
- In the Account type group, click Personal to create an account for the natural person or click Business to add an Account for legal entity (to create another Account type see Creating an Account Type).
- Type the customer name in the First Name, Middle Name and Last Name fields.
- Select the User that will have the Owner access level to the Account:
- If the User has been created recently (see Creating a User), in the Owner list, select created User, which will be the Owner of this Account.
- If you want to create a new User, set the set the Create owner in the On position to create the User with the Owner access level.
- You can set the personal manager for the account in the Personal manager list.
- In the Account class list, select the required class of accounts (for more information see Account class).
In the Contacts information group, type the personal or business information about the account, which is needed to solve administrative, billing, and technical issues.
The default value of the Country drop-down list box can be set in the system settings (see General system settings).
In the Custom fields area, enter the additional account information. The amount and type of elements in this group depends on the Account Types (see Creating an Account Type).
The account contact information and custom fields are sent to the registrar when a customer registers a domain. Some registrars require the contacts that are presented in ASCII. If account contacts are entered in non-Latin letters, it is possible to re-enter contact information in ASCII.
- Click Create. The new account has been created and displayed on the List of Account (see Viewing the List of Accounts).