Configuring the autofill service settings
Configuring the autofill service settings includes the following steps:
Configuring access to the autofill service
To configure access to the autofill service:
- Sign in to the Operator Control Panel on the price level — the first level under the root reseller.
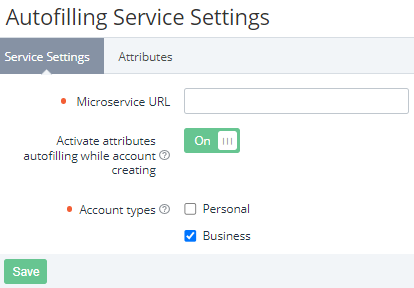
- Go to Autofilling Service Settings (see Navigation). The Service settings tab of the autofill service page is displayed.
- In the Microservice URL field, enter the address to connect to the microservice (for example, http://dadata/search_organizations).
- Turn On the Activate attributes autofilling while account creating switch. Downstream resellers, if necessary, can individually activate or deactivate the autofill service.
- In the Account types list, select the checkboxes of the account types for which the autofill service must be used (see Account types).
- Click Save.
Managing account attributes for the autofill service
After activating and configuring access to the autofill service, add the account attributes used for the organization search.
To select account attributes for the autofill service:
- Sign in to the Operator Control Panel on the price level — the first level under the root reseller.
- Go to Autofilling Service Settings (see Navigation). The Service settings tab of the autofill service page is displayed.
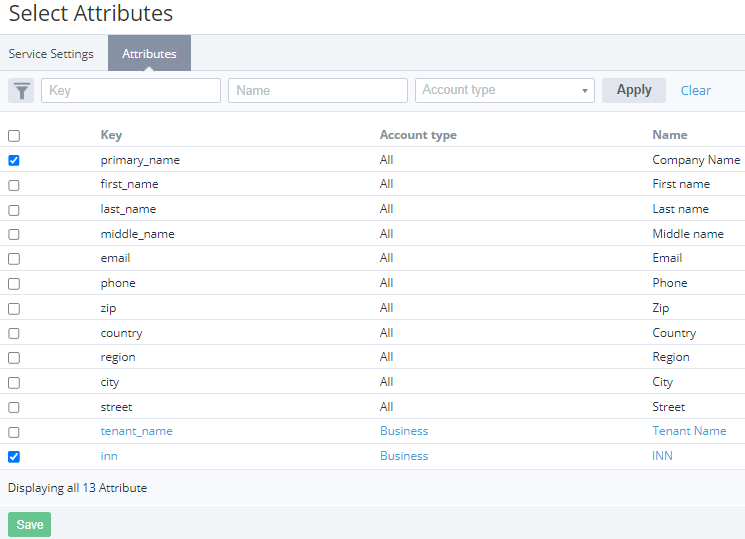
- Go to the Attributes tab. The list of the main and custom (see Managing attributes) attributes of the String or Text format applied to the Account entity and the account types selected on the Service settings tab is displayed. The list includes the following columns:
- A column with checkboxes to select account attributes.
- Key — the unique key of an account attribute. For a custom attribute, the key is displayed as a link to its details page (see Viewing and updating attribute's details).
- Account type — the name of an account type to which an account attribute is applied. The name of an account type is displayed as a link to its details page (see Viewing and updating account type's details). If an account attribute is applied to all account types, All is displayed.
- Name — the name of an account attribute. For a custom attribute, the name is displayed as a link to its details page (see Viewing and updating attribute's details).
- Select the checkboxes next to the account attributes the autofill service must use for the organization search. To select all account attributes at once, select the checkbox in the column header.
- Click Save.
Configuring the autofill service for a reseller
After activating the autofill service on the price level, it becomes possible to activate or deactivate the service for an individual reseller. The settings are common for the Customer Control Panel and Operator Control Panel.
To activate or deactivate the autofill service for a reseller:
- Sign in to the Operator Control Panel of the required reseller.
- Go to Autofilling Service Settings (see Navigation). The autofill service page is displayed similarly to the price level but with the following specifics:
- The Microservice URL field is read-only. The value matches the price level.
- The Activate attributes autofilling while account creating switch:
- By default, is turned Off.
- Is available for changing if the same switch on the price level is turned On.
- The Account types list is read-only. The selected options match the price level.
- Set the Activate attributes autofilling while account creating switch to the required position.
- Click Save.