Exporting and importing a role
You can quickly create roles based on an existing permissions list using an XLSX file and the export and import features:
Go to Roles (see Navigation). The list of roles is displayed (see Viewing the list of roles).
Click the ID or name of the role you want to use as the source for the permissions list. The role’s details page is displayed (see Viewing and updating a role).
Click Export. An XLSX file containing the permissions for this role is automatically downloaded.
If necessary, update the permissions in the file. When editing the file, note the following:
Do not edit the first column. It contains the system keys of the Operator Control Panel sections, in the same order as on the role’s page (see Viewing and updating a role).
- In the second column, specify the access mode for each section of the Operator Control Panel:
- no_access — corresponds to the No Access mode. The section is unavailable and not displayed.
- read — corresponds to the Read Only mode. The section is displayed, but managing entities and changing data in it are not available. Not all sections support the Read Only mode (see Managers' roles).
- control — corresponds to the Full Control mode. The section is displayed, and managing entities and changing data are available.
- Start creating a new role (see Creating a role) or select an existing role you want to update (see Viewing and updating a role).
- On the role’s page, click Import. The Import role permissions window is displayed.
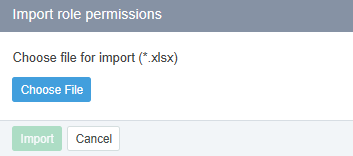
- Select the XLSX file with the permissions list and click Import. The permissions settings for the role are updated.
If the selected file contains invalid or unsupported data, a message is displayed listing the incorrect parameters.
Correct the data in the file or repeat the export to obtain a valid file.
Repeat the import.