Top up balance
Funds can be credited to the balance automatically, for example, in the case of a refund, or manually, using a top-up payment or a guaranteed payment (see Guaranteed payments).
Manual balance top-ups may be unavailable depending on the reseller’s settings.
Top up your balance in advance so you can later use it to complete payments for prepaid and postpaid subscriptions manually. At the same time, the platform can use your funds on the balance if there are enough for automatic payment, only in the following cases within the Prepay model:
- Renew a subscription with Auto-renew = On — on the subscription expiration date (see Auto-renew subscription).
- Prolong a subscription — on the Paid to day and during the grace period (see Prolong subscription).
A negative balance (debt) may lead to the credit hold of an account and force the stopping of some prepaid subscriptions. For details, see Blocked account.
To top up the account balance:
- Go to the Top Up Balance page by doing any of the following:
- Click the balance amount in the upper right corner on any page.
- On the Main page or in the Billing section, click Top up in the Balance widget.
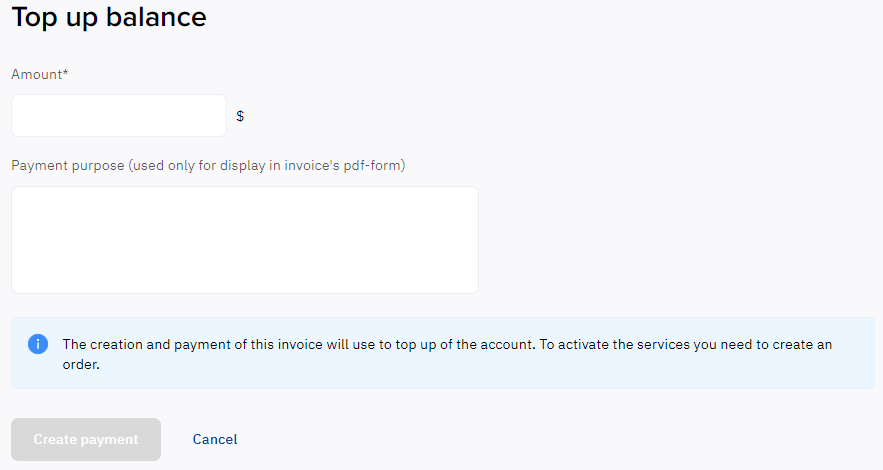
- In the Amount field, enter the required top-up amount. If the projected monthly expenses are greater than the current balance, the difference, considering the provided guaranteed payments, is displayed under the field as a link to quickly set the recommended top-up amount.
- If you need to include the payment purpose in a PDF receipt (see Download invoice), enter up to 200 symbols in the Payment purpose field. For example: Top-up payment. Prepay for the Microsoft 365 F1 - Annually subscription.
- Click Create payment. The list of payments is displayed with the created payment at the top of the list.
- In the payment card, click Pay and select the preferred payment method (see Payment methods). After paying, the payment gets the Completed status, and the funds are transferred to the account balance.