Creating a payment method
A payment method can be created using one of the plugins (see Viewing the list of plugins) or payment gateway connectors (see Viewing the list of payment gateway connectors). The list of payment method settings depend on the selected plugin or payment gateway connector.
In this article:
Creating a payment method based on a plugin
To create a payment method based on a plugin:
- Go to Payment Methods (see Navigation). The list of payment methods is displayed (see Viewing the list of payment methods).
- Click Create. The New Payment Method page is displayed.
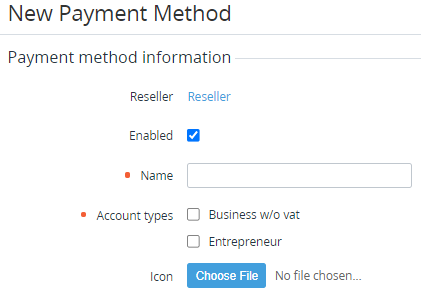
- In the Payment method information group:
- Optionally, if it is necessary that the payment method not be available for use right after creating, clear the Enabled checkbox.
- In the Name field, enter the payment method name displayed in the Customer Control Panel and Operator Control Panel.
- In the Account types group, select the checkboxes of the account types (see Account types) that can use this payment method.
- Optionally, in the Icon field, click Choose File and select the logo for the payment method. This logo will be displayed in the Operator Control Panel and Customer Control Panel.
In the Integration type group, select Payment Plug-in.
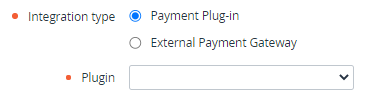
- In the Plugin list, select the required plugin for connecting to a payment system (see Viewing the list of plugins).
In the Additional Settings group, specify the required options. The additional settings depend on the selected plugin.
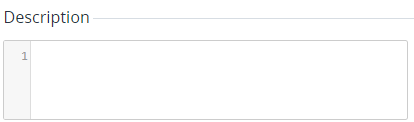
Optionally, in the Description field, enter information about the payment method displayed in the Customer Control Panel. HTML, CSS, JS, and placeholders (see Placeholders for configuring payment methods) are supported.
- Click Create.
Creating a payment method based on a payment gateway connector
To create a payment method based on a payment gateway connector:
- Go to Payment Methods (see Navigation). The list of payment methods is displayed (see Viewing the list of payment methods).
- Click Create. The New Payment Method page is displayed.
- In the Payment method information group:
- Optionally, if it is necessary that the payment method not be available for use right after creating, clear the Enabled checkbox.
- In the Name field, enter the payment method name displayed in the Customer Control Panel and Operator Control Panel.
- In the Account types group, select the checkboxes of the account types (see Account types) that can use this payment method.
- Optionally, in the Icon field, click Choose File and select the logo for the payment method. This logo will be displayed in the Operator Control Panel and Customer Control Panel.
In the Integration type group, select External Payment Gateway.
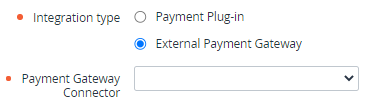
- In the Payment gateway connector list, select the required payment gateway connector for connecting to a payment gateway (see Viewing the list of payment gateway connectors).
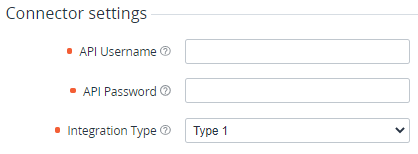
In the Connector settings group, specify the required options. The displayed settings depend on the JSON schema of the selected payment gateway connector (see Creating a payment gateway connector).
Optionally, in the Description field, enter information about the payment method displayed in the Customer Control Panel. HTML, CSS, JS, and placeholders (see Placeholders for configuring payment methods) are supported.
Click Create.
Using a payment method based on a payment gateway connector has the following specifics:
- The payment method is not available in the Operator Control Panel.
- A Payment Transaction entity is created in the platform to process a customer's payment.
- All updates of the payment status on the payment gateway side and the corresponding updates of the Payment Transaction status are logged to the payment Log (see Viewing an object log).
- While a payment on the payment gateway side is processed, the corresponding payment in the platform has the Processing status. In this temporary status, all operations for a payment are not available.
- If a payment on the payment gateway gets the Error, Expired, or Cancelled status, the corresponding payment in the platform gets back its previous status. Operations for a payment become available according to the general logic of the platform.
- If a payment on the payment gateway gets the Success status, the corresponding payment in the platform gets the Completed status.