To create a user for an account:
-
Go to Accounts (see Navigation). The list of accounts is displayed (see Viewing the list of accounts).
-
Click the ID or name of the required account. The account details page is displayed (see Viewing and updating account's details).
-
Go to the Users tab. The list of users attached to the selected account is displayed (see Managing account's users).
-
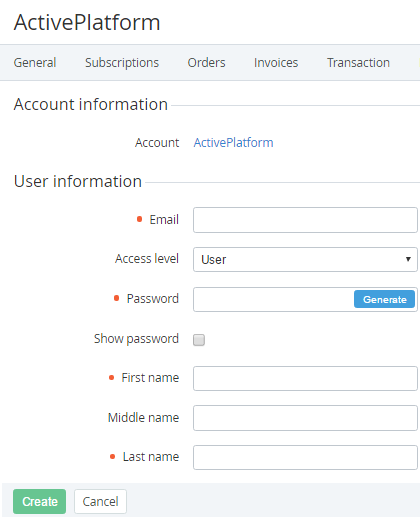
Click Create User. A new user page is displayed. In the Account information group, the name of selected account for a new user is displayed.
-
In the User information group, enter the following data:Email — an email to be used as the login of the user to access the Customer Control Panel. Access level — one of the following access levels within the account:User — minimum privileges, can only access services assigned by an Admin or the Owner.Finance manager — can pay payments but cannot cancel them.Admin — can manage subscriptions and other users except the Owner.Technical manager — same privileges as Admin but cannot access the Service management section (see Service management).Owner — maximum privileges. An account can have only one user with the Owner access level. If selected, the current Owner of the account will get the Admin access level.Password — the password of the user to access the Customer Control Panel. The password requirements are configured in the Password Settings section (see Password settings) and then: To generate the password automatically, click Generate.To show the password, select the Show password checkbox. First name, Middle name and Last name — the user's full name.If displayed, the fields of custom attributes (see Viewing the list of attributes).
-
Click Create. The user is created and displayed in the list.