To create a product:
-
Go to Products (see Navigation). The list of products is displayed (see Viewing the list of products).
-
Click Create. The New Product page with several tabs is displayed.
-
Enter information on the following tabs:
-
Click Save. The product is created, and the Plans tab is displayed (see Viewing the list of product plans).
General
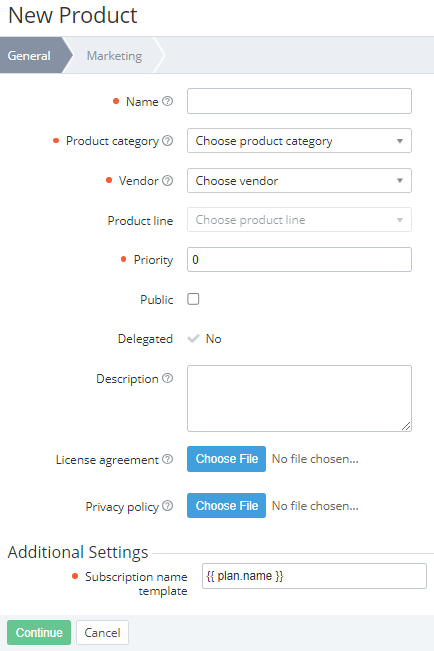
On the General tab:
-
In the Name field, enter the product name.
-
In the Product category list, select a product category (see Managing product categories).
-
In the Vendor list, select a vendor (see Vendors). If you create a product from the Products tab of a vendor (see Managing vendor information) or product line (see Managing a product line), the current vendor is selected by default, but you can also select any other.
-
Optionally, in the Product line list, select a product line. The list becomes available after selecting a vendor. The list includes only product lines of the selected vendor created on the current level (see Viewing the list of product lines). If you create a product from the Products tab of a product line (see Managing a product line), the current product line is selected by default, but you can also select any other.
-
In the Priority field, enter a number from 0 to 65535 that defines the display order of products in the Customer Control Panel (see ). Products with a lower priority are displayed first. The default value is 0. Downstream resellers can redefine product priority if they have a delegated plan linked to the product.
The Customer Store uses another priority parameter to sort the products in the Storefront (see Managing the product cards order on the catalog page).
-
To make the product available for sale, select the Public checkbox.
The availability of a product for sale also depends on the Public attribute of the selected product category (see Creating a product category).
-
Optionally do the following:
-
In the Description field, enter the product description. This description is not displayed to customers.
-
In the Vendor name field, enter the name of the product vendor company.
-
In the Vendor logotype field, click Choose File and upload the vendor company logo.
-
In the License agreement field, click Choose File and select the product license agreement file.
-
In the Privacy policy field, click Choose File and select the product privacy policy file.
-
-
In the Template of subscription name field, check and, if necessary, update the template of the name of any subscription to all plans of the product. The default value is
{{ plan.name }}, and all subscription names, excluding subscriptions for domains and certificates, equal the names of corresponding plans (see Default subscription names).The template name is applied to a subscription after the service provisioning. To have a subscription save a custom name entered when ordering (see Ordering a subscription at the plan prices), the Template of subscription name must contain
{{ subscription.name }}. -
Click Continue. The next tab is displayed.
Marketing
On the Marketing tab, enter the following:
-
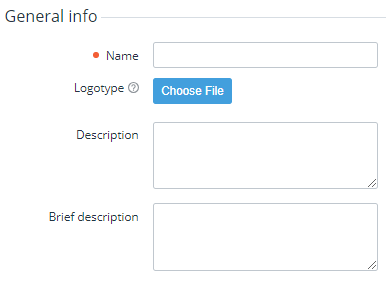
In the General info group:
-
In the Name field, enter the product name that will be displayed to a customer.
-
In Logotype, click Choose File and select the product logo.
-
In the Description field, enter a full product description. This description will be displayed to a customer.
-
In the Brief description field, enter a brief product description. This description will also be displayed to a customer.
-
-
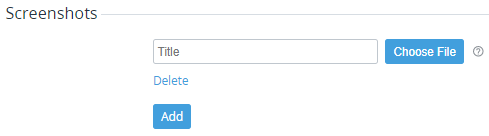
In the Screenshots group:
-
Optionally, in the Title field, enter the product screenshot title.
-
Click Choose File and select a product screenshot.
-
If it is necessary to replace an uploaded screenshot, click Change image.
-
-
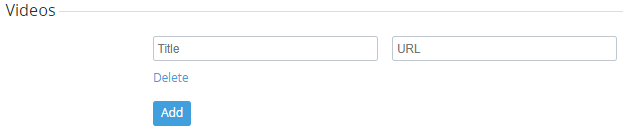
In the Videos group:
-
Optionally, in the Title field, enter the product video title.
-
In the URL field, enter the link to the product video.
The current version of Storefront supports videos from YouTube only (see Product page).
-
-
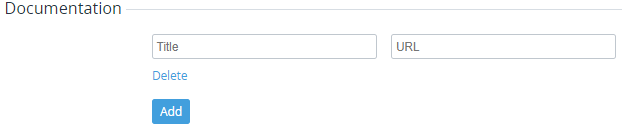
In the Documentation group:
-
Optionally, in the Title field, enter the product documentation title.
-
In the URL field, enter the link to product documentation.
-
-
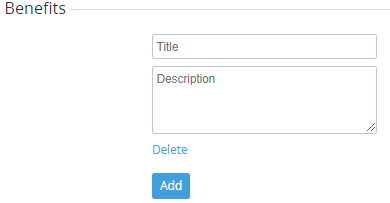
In the Benefits group:
-
Optionally, in the Title field, enter the product benefit title.
-
In the Description field, enter the product benefit description.
-
-
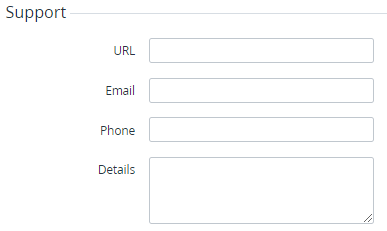
In the Support group (if any applicable):
-
In the URL field, enter the link to the product support website.
-
In the Email field, enter the email of product support.
-
In the Phone field, enter the phone number of product support.
-
In the Details field, enter the additional details about product support.
-
-
To add one more element in a group, click Add and repeat the steps. You can use only non-unique titles or leave them blank.
-
To delete an element from a group, click Delete.