Ordering an SSL certificate subscription
In the current version of the platform, the support of ordering an SSL certificate subscription is limited.
Complete the following steps to order a Subscription to an SSL Certificate:
- Sign in to the Operator Control Panel.
On the Navigation Bar go to Subscriptions (see Navigation). The list of Subscriptions is displayed (see Viewing the list of subscriptions).
Click the Order Subscription button on the Toolbar.
- Select the Account on the Order Subscription page in the Account list (see Managing accounts).
- Select desired Plan in the Plan list (see Managing plans).
Select the subscription period in the Plan period list (see Plan Periods).
If the list of Plan Periods includes only one item, this item is displayed without the ability to change.

- Click Create. The Workspace displays the elements to create a new certificate request.

In The certificate request (CSR) field, enter the certificate request that has been generated recently or leave this field blank to generate the request automatically.
A CSR is an encoded file that provides you with a standardized way to send your public key with some information that identifies your company and domain name. It is usually generated on the server where the certificate will be installed and contains information that will be included in the certificate such as the organization name, common name (domain name), locality, and country. A private key is usually created at the same time that you create the CSR.
- Click Next. If The certificate request (CSR) field was blank, the Workspace displays the elements for the request creation.

Fill the following fields on the Parameters group:Bits — the length of the private key (minimum 2048 bit).
Common name (domain name) — the fully qualified domain name (FQDN) of the server. It must exactly match the domain or subdomain for which you are ordering SSL (e.g. *.example.com).
Country — the two-letter ISO code for the country where the company is located.
Email — an email address used to contact the organization.
Location (city) — the city where the organization is located.
Department — the division of the organization.
Organization — the legal name of your organization It should not be abbreviated and should include suffixes such as Inc, Corp.
Region — the state/region where the organization is located. It shouldn't be abbreviated.
Click Next. The Workspace displays the private key in the Private key field.
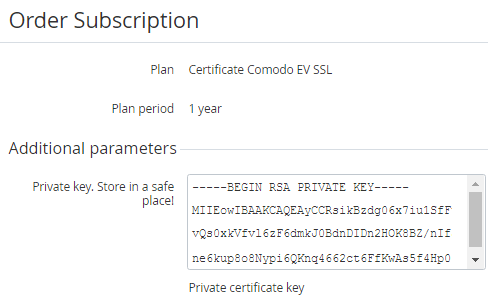
Save the private key in a safe place.
In the Server type list, select the type of the server, which will run the SSL.

Select the email of the employee, who responsible for approving all requests for certificates, in the Email confirmer list.
- Type a position name for the employee, who responsible for approving all requests for certificates, in the Position list.
- Check that the request text is displayed on the Request (CSR) field.
Check the information in the Certificate info group, which was entered in the previous steps.

- Click Next. The Workspace displays the confirmation page.

- If you have a promotion code, type it into the Promo Code field to add a discount.
- Look through the order details and click Next. The Subscription has been ordered.