Viewing and updating connector details
To view connector details:
- Go to Connectors (see Navigation). The list of connectors is displayed (see Viewing the list of connectors).
- Click the ID or name of the required connector. The connector details page is displayed. The connector details page includes the following tabs:
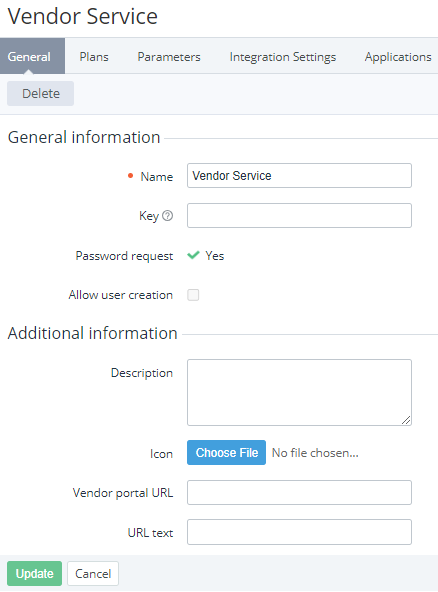
- General — the general information about the connector that includes the following elements:
- Name — the connector name.
- Key — the non-unique connector key. The key is used for synchronizing the connector data between the platform and third-party systems via API.
- Description — additional information about the connector.
- Icon — the vendor's portal logo to display next to its link.
- Vendor portal URL — the link to the vendor's portal. The link with the specified icon and text is displayed on the subscription details page (see External portal in Subscription details).
- URL text — the name of the link to the vendor's portal.
- Other elements — depending on the plugin or APS package used for creating the connector (see Creating a connector).
- Plans — the list of plans based on the connector (see Viewing the list of plans).
- Parameters — the list of parameters manually added to the connector (see Managing connector parameters).
- Integration settings — the provisioning settings of the connector based on the Vendor Service Plugin (VSP) (see Managing connector integration settings).
- Plugin Settings — the list of settings of the plugin or APS package.
- Applications — the list of application instances created for ordered subscriptions (see Managing application instances).
- Attributes — the list of attributes of the connector based on the Vendor Service Plugin (VSP) (see Managing connector attributes).
- Resources — the list of resources of the connector that can be added to a plan (see Managing connector resources).
- Log — the history of operations with the connector (see Viewing an object log).
- Other tabs — depending on the plugin or APS package used for creating the connector.
- General — the general information about the connector that includes the following elements:
- If it is necessary to update the connector details:
- On the General tab, edit available parameters.
- Click Update.