Creating an account's user
To create a user for an account:
- Go to Accounts (see Navigation). The list of accounts is displayed (see Viewing the list of accounts).
Click the ID or name of the required account. The account details page is displayed (see Viewing and updating account's details).
- Go to the Users tab. The list of users attached to the selected account is displayed (see Managing account's users).
- Click Create User. A new user page is displayed. In the Account information group, the name of selected account for a new user is displayed.
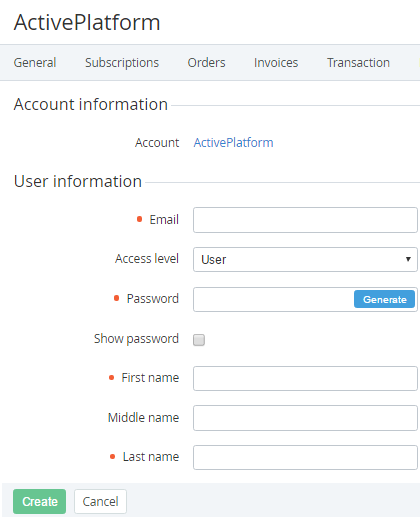
- In the User information group, enter the following data:
- Email — an email to be used as the login of the user to access the Customer Control Panel.
- User — minimum privileges, can only access services assigned by an Admin or the Owner.
Finance manager — can pay payments but cannot cancel them.
- Admin — can manage subscriptions and other users except the Owner.
- Technical manager — same privileges as Admin but cannot access the Service management section (see Service management).
- Owner — maximum privileges. An account can have only one user with the Owner access level. If selected, the current Owner of the account will get the Admin access level.
- Password — the password of the user to access the Customer Control Panel. The password requirements are configured in the Password Settings section (see Password settings) and then:
- To generate the password automatically, click Generate.
- To show the password, select the Show password checkbox.
- First name, Middle name and Last name — the user's full name.
- If displayed, the fields of custom attributes (see Viewing the list of attributes).
- Click Create. The user is created and displayed in the list.