Creating an email template
Email notifications are sent to customers and managers via the email service. A created notification template is automatically created for all downstream resellers (see Delegating UI templates, notification templates, event handlers, and notification categories). Before creating a notification template, create a notification category (see Managing notification categories).
To create an email notification template:
- Go to Notification Templates. The list of notification templates (see Viewing the list of notification templates).
- Click Create. The New Notification Template page is displayed.
- Enter information in the following groups:
- Click Create. The email notification template will be created for the current reseller and all its downstream resellers.
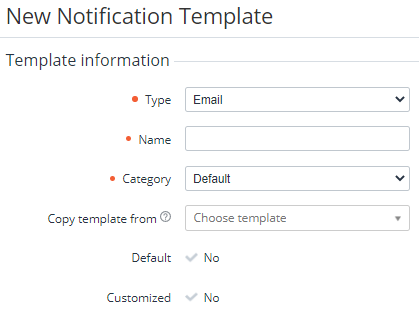
Template information
In the Template information group:
- In the Type list, select Email.
- In the Name field, enter the name of the template.
- In the Category list, select a notification category for notifications based on this template.
If it is necessary to create an email notification template based on an existing one, in the Copy template from list, select the required email notification template. You can search a notification template in the list by part of its ID or name. As a result, the template body (see below) is prefilled from the selected template.
When editing an email notification template, the copying option is not available, but you can use the preview mode of an HTML-formatted template (see Viewing and updating notification template's details).
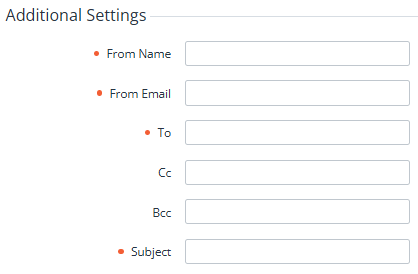
Additional settings
In the Additional settings group:
- In the Form Name field, enter the sender's name displayed to recipients. You can use placeholders for the Reseller entity (see Placeholders for the Reseller entity). Example:
{{reseller.name}}.Special characters in the sender's name may cause a notification sending error due to restrictions on the SMTP server side.
- In the From Email field, enter the email address from which the notifications will be sent to customers.
- In the To field, enter a placeholder (see below) or the recipient email address.
Optionally, in the Cc and Bcc fields, enter a placeholder (see below) or the recipient email address of the notification email copy and hidden copy (optional).
In the From Email, To, Cc, and Bcc fields, you can use various placeholders for email addresses (see Placeholders used in notification templates for specific event handlers). User emails are identified from the placeholders, and a notification will only be sent to those who had the appropriate status at the time the notification was generated (see Managing account's users and Viewing the list of managers). For example:
{{owner.email}}— the email of the account Owner, and the global status of the user is Active.{{user.email}}— the email of an account user, and the global status of the user is Active.The
{{user.email}}placeholder can be used as the email notification recipient for the following events only:- Unexpected consumption increase detection
- The report with daily consumptions of pay-as-you-go subscriptions is ready
- Spending budget for a period is approaching
- Password reset request
- Verify email
- Request for quote changed
{{account.bill_user_email}}— the email of an account user responsible for financial issues, and the user status within the account is Active.{{account.tech_user_email}}— the email of an account user responsible for technical issues, and the user status within the account is Active.{{user_invite.email}}— the email of a user invited to join an account. The user status is not checked before sending.{{account.manager.email}}— the email of the manager of an account (see Creating an account), and the manager status is Active.
Status check is not performed before sending if a specific email is provided instead of a placeholder.
- In the Subject field, enter the message subject. You can use placeholders (see Placeholders used in notification templates for specific event handlers).
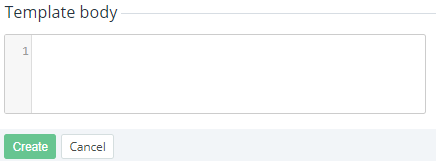
Template body
In the Template body group, enter the text of a notification using HTML and placeholders (see Placeholders used in notification templates for specific event handlers).