Creating an account
Before creating an account, create a suitable account class (see Creating an account class) and account type (see Creating an account type).
If the autofill service is activated for the reseller (see Configuring the autofill service settings), an organization catalog search is available. In this case, a prompt will appear when you start typing the company name or other data in the field. Select the appropriate option, and contact information and other details will be filled in automatically.
An account is created with an attached user — the Owner. The Owner has full financial and administrative control of the account. The account can have only one user with the Owner access level. This user can be automatically created while creating an account or can be created in advance (see Creating a user).
To create an account:
- Go to Accounts (see Navigation). The list of accounts is displayed (see Viewing the list of accounts).
- Click Create account. The New Account page is displayed.
- Enter the required data in the following groups:
- Click Create. A new account is created and displayed in the list. By default, a new account has the Active status (see Managing account statuses) and the attribute Work permit for postpaid = Verification not performed (see Managing account's permission to use the Postpay model).
Account information
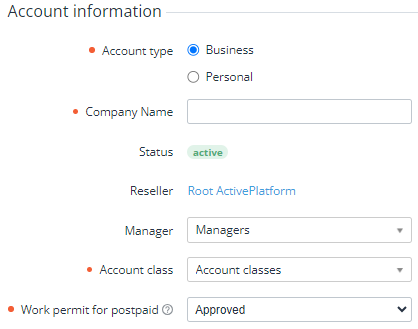
In the Account information group:
- In the Account type group, select the required account type. For example, Personal to create an account for a natural person or Business — for a legal entity (see Creating an account type).
For a legal entity, in the Company Name field, enter the account's company name (see Name Pattern in Creating an account type).
Using special characters, abbreviations, and TLDs in a company name may be limited by the global settings of the installation (see Account validation settings in Global settings).
Optionally, in the Manager list, select the personal manager for the account. All active managers of the reseller are available in the list (see Viewing the list of managers). By default, the manager is not set.
For automatic linking an account to a manager when a customer orders a new service via Customer Store, see Buy-link template for ordering a service via Storefront.
- In the Account class list, select the required account class (see Account classes).
- If Allow an account to order a postpaid subscription = Manually is selected in the reseller settings (see Managing financial settings), in the Work permit for postpaid list, select whether the account has permission to order postpaid subscriptions:
- Approved (by default) — you confirm that the account is allowed to order postpaid subscriptions.
- Verification not performed — confirmation with a manual operation will be required when the account orders the first postpaid subscription (only commercial or trial, too — depending on the settings).
Contact information
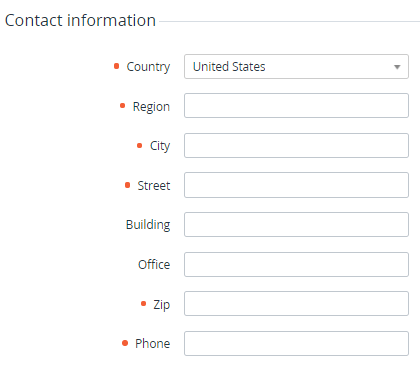
In the Contact information group, enter the address information of the account which will be used to solve administrative, billing, and technical issues.
The default value of the Country list and the ability to select a country are defined in the system settings (see General system settings).
Specifying some values in the Region field may be limited by the global settings of the installation (see Account validation settings in Global settings).
Contract person
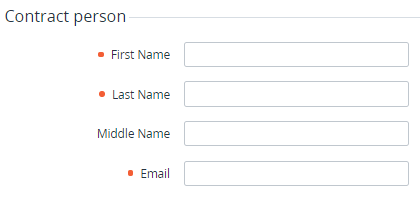
In the Contract person group, enter the name and email of an authorized person who signs contracts from the customer's side.
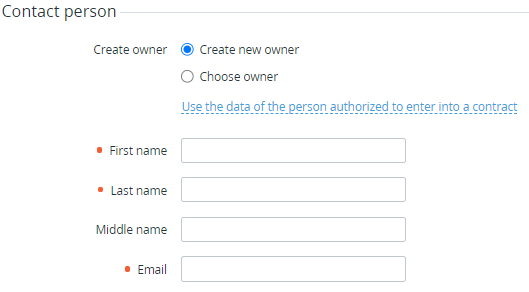
Contact person
In the Contact person group, select or create a user that will have the Owner access level to the account:
- Choose owner — in the Owner list, select a previously created user (see Creating a user). You can search users by name and email. Start entering to view the list of users regarding your input.
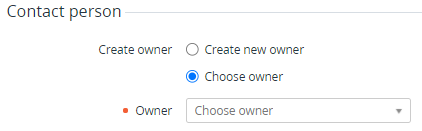
Create owner — a new user will be created automatically with one of the following options:
To copy the contract person's data to the new Owner, click Use the data of the person authorized to enter into a contract.
Enter the name and email of a new user manually.
If a notification template for the Account created event is properly configured (see Notification configuration), a notification is sent to the specified email with a one-time link to set the account Owner password.
Groups of additional attributes
Enter information based on the additional attributes created for the account entity (see Viewing the list of attributes). The names, number, and composition of the fields in these groups depend on the selected account type (see Creating an account type). Any attributes that are not linked to a specific group of additional attributes are displayed in the Attributes group.
When a customer registers a domain, the account contact information and additional attributes are sent to the registrar. Some registrars require the contacts presented in ASCII.